
First Aid for Hikers: How to Handle Common Injuries
Introduction
When venturing into the wilderness, your preparation can mean the difference between a minor inconvenience and a life-threatening emergency. First aid knowledge is not just a beneficial skill for hikers—it’s an essential one. Remote trails often place you hours or even days away from professional medical assistance, making self-sufficiency in emergency situations crucial.
The unpredictable nature of outdoor environments presents unique challenges: sudden weather changes, difficult terrain, wildlife encounters, and physical exertion can all contribute to injuries. Understanding how to effectively respond to common hiking injuries can prevent complications, reduce recovery time, and potentially save lives.
This comprehensive guide will equip you with the knowledge and skills to handle common hiking injuries, from minor blisters to more serious conditions like hypothermia or snake bites. Whether you’re a weekend warrior or an experienced backpacker, these first aid fundamentals will enhance your safety and confidence on the trail.
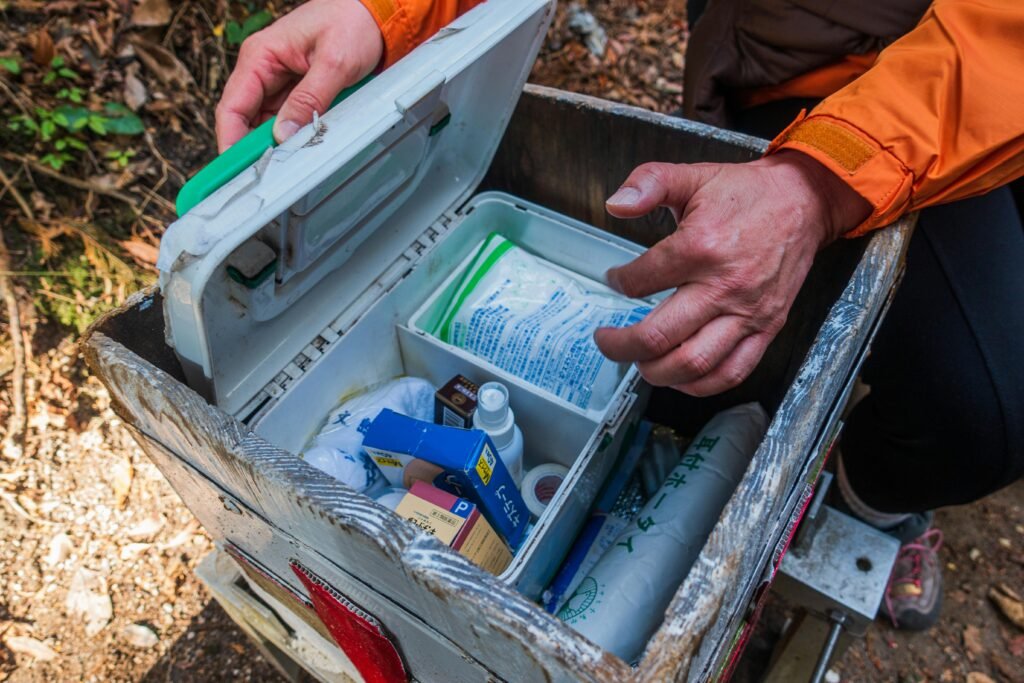
Essential First Aid Kit
A well-stocked first aid kit is your first line of defense against trail injuries. While commercial hiking first aid kits are readily available, understanding the purpose of each item allows you to customize your kit based on your specific needs, trip duration, and destination.
Must-Have Items:
- Adhesive bandages (various sizes): For covering small cuts, blisters, and abrasions
- Sterile gauze pads (2×2 and 4×4 inches): For cleaning wounds and applying pressure to stop bleeding
- Adhesive tape: For securing gauze and bandages
- Elastic bandage (3-inch): For wrapping sprains and providing compression
- Triangular bandage: Multi-purpose item for creating slings, immobilizing injuries, or as a makeshift bandage
- Antiseptic wipes/solution: For cleaning wounds and preventing infection
- Antibiotic ointment: To prevent infection in cuts and scrapes
- Hydrocortisone cream: For relieving itching from insect bites and plant irritants
- Pain relievers (acetaminophen, ibuprofen): For managing pain and reducing inflammation
- Antihistamines: For allergic reactions to insect stings or plants
- Tweezers: For removing splinters, ticks, or debris from wounds
- Scissors: For cutting tape, bandages, or clothing when necessary
- Safety pins: For securing bandages or creating improvised solutions
- Disposable gloves: For protection when treating wounds
- CPR face shield: For safely performing rescue breathing
- Emergency blanket: For preventing or treating hypothermia
- Blister treatment supplies: Moleskin, blister pads, or specialized blister bandages
- Instant cold pack: For reducing swelling in sprains or strains
- Irrigation syringe: For cleaning wounds with clean water
- First aid manual: A compact guide for reference in emergency situations
Additional Considerations:
- Personal medications: Include any prescription medications you regularly take
- Emergency contact information: Written list of emergency contacts and relevant medical information
- Whistle: For signaling for help
- Small flashlight or headlamp: For emergency situations in low light
- SAM splint: Moldable splint for immobilizing fractures or sprains
- Hemostatic gauze: For controlling severe bleeding
- Sunscreen and lip balm: To prevent painful sunburns
- Insect repellent: To reduce the risk of insect-borne diseases
Remember to check your kit regularly, replace expired items, and replenish supplies after use. Store your first aid kit in a water-resistant container and keep it easily accessible in your pack.
Common Hiking Injuries & Treatments
Blisters
Blisters are among the most common hiking injuries, caused by friction between your skin and footwear.
Prevention:
- Wear properly fitted, broken-in hiking boots or shoes
- Use moisture-wicking socks and consider liner socks
- Apply petroleum jelly or specialized anti-friction balm to hot spots
- Address “hot spots” immediately before they develop into blisters
Treatment:
- For intact blisters:
- Clean the area with antiseptic wipe
- Apply a donut-shaped pad (moleskin with hole cut in center) around the blister to relieve pressure
- Cover with a bandage or blister-specific dressing
- Monitor for signs of infection
- For broken blisters:
- Wash hands thoroughly or use gloves
- Clean the area with antiseptic solution
- Leave the skin flap in place when possible (it serves as a natural bandage)
- Apply antibiotic ointment
- Cover with sterile gauze and secure with medical tape
- Change dressing daily or when it becomes wet or dirty
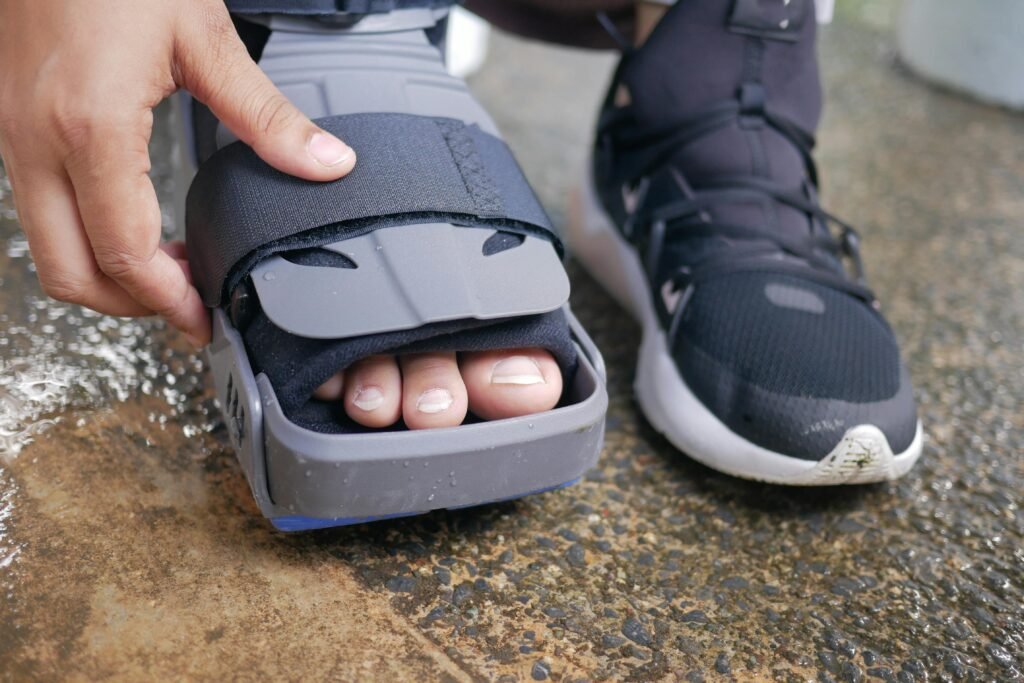
Sprains and Strains
Ankle sprains are particularly common on uneven terrain. Remember the RICE protocol:
Treatment:
- Rest: Discontinue activity and avoid putting weight on the injured area
- Ice: Apply cold pack for 20 minutes every 1-2 hours during the first 48 hours
- Compression: Wrap the injured area with an elastic bandage, starting below the injury and wrapping upward
- Elevation: Keep the injured limb elevated above heart level when possible
For ankle sprains specifically:
- Support the ankle with athletic tape or an elastic bandage in a figure-eight pattern
- Use trekking poles or find a sturdy stick to use as a makeshift walking aid
- If you must continue hiking, lace boots tightly for additional support
Signs that require evacuation:
- Inability to bear weight on the injured limb
- Significant swelling or deformity
- Persistent pain despite treatment
- Numbness or tingling in the affected limb
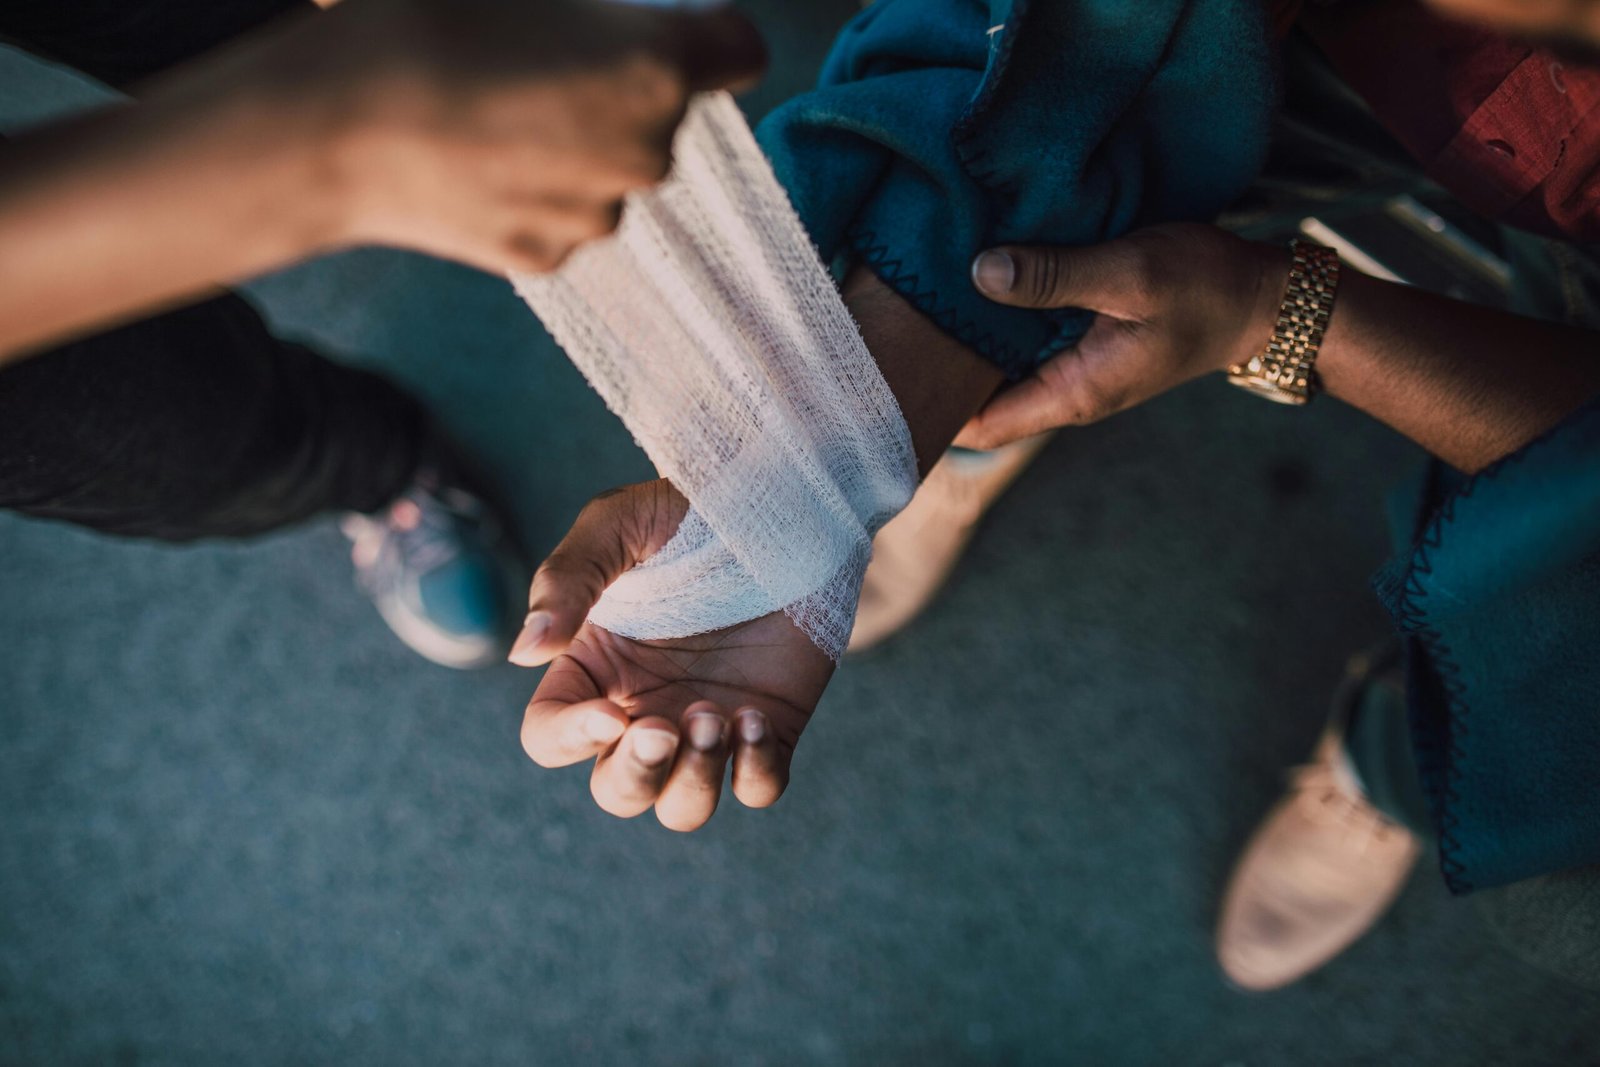
Cuts and Scrapes
Treatment:
- Clean hands or wear gloves before treating wounds
- Control bleeding by applying direct pressure with sterile gauze
- Clean the wound thoroughly:
- For minor wounds: Clean with antiseptic wipes or mild soap and water
- For deeper wounds: Irrigate with clean water using a syringe to flush out debris
- Apply antibiotic ointment
- Cover with an appropriate dressing:
- Small cuts: Adhesive bandage
- Larger wounds: Sterile gauze secured with medical tape
- Change dressing daily or when it becomes wet or dirty
When to be concerned:
- Deep puncture wounds
- Wounds with embedded debris that cannot be removed
- Wounds that expose fat, muscle, or bone
- Wounds that continue to bleed despite 15 minutes of direct pressure
- Signs of infection: increasing pain, redness, swelling, warmth, pus, or red streaks extending from the wound
Dehydration and Heat Exhaustion

Prevention:
- Drink water regularly (approximately 1 liter per 2 hours of hiking)
- Consume electrolytes on longer hikes or in hot conditions
- Hike during cooler parts of the day
- Wear appropriate clothing and sun protection
Symptoms of dehydration:
- Thirst, dry mouth
- Dark yellow urine
- Headache
- Fatigue
- Decreased urine output
Treatment for dehydration:
- Rest in a shaded area
- Drink water slowly but steadily
- Add electrolytes to water if available
- Monitor for improvement
Symptoms of heat exhaustion:
- Heavy sweating
- Cool, pale, clammy skin
- Fast, weak pulse
- Nausea or vomiting
- Muscle cramps
- Dizziness or fainting
- Headache
Treatment for heat exhaustion:
- Move to a cool, shaded area immediately
- Remove excess clothing
- Cool the body with wet cloths or by applying water to the skin
- Fan the person to increase evaporation
- Provide water with electrolytes if the person is conscious and able to drink
- Elevate legs slightly
- If symptoms worsen or don’t improve within 30 minutes, seek emergency help
Hypothermia
Hypothermia can occur even in mild temperatures, especially with wind, rain, or when clothing becomes wet.
Symptoms:
- Shivering (early stage)
- Slurred speech
- Confusion or disorientation
- Clumsiness or lack of coordination
- Fatigue or low energy
- Cessation of shivering in advanced stages
Treatment:
- Move the person to a warm, dry location or create shelter
- Remove wet clothing and replace with dry clothing
- Warm the core first (chest, neck, head, and groin):
- Use dry layers, sleeping bags, or emergency blankets
- Apply warm water bottles or heating pads to armpits, chest, and groin (not directly on skin)
- Provide warm, sweet beverages if the person is conscious (no alcohol)
- For mild hypothermia, encourage gentle movement to generate heat
- For moderate to severe hypothermia (confusion, slurred speech):
- Handle the person gently
- Keep them horizontal
- Avoid rough movement or massage
- Seek emergency medical help immediately

Insect Bites and Stings
Treatment for common insect bites:
- Remove the stinger if present (scrape with a card, don’t use tweezers)
- Clean the area with soap and water
- Apply a cold pack to reduce swelling
- Use hydrocortisone cream or calamine lotion to reduce itching
- Take an antihistamine if needed
For tick removal:
- Use fine-tipped tweezers to grasp the tick as close to the skin as possible
- Pull upward with steady, even pressure
- Clean the bite area and your hands thoroughly
- Save the tick in a sealed container if possible (for identification if symptoms develop)
Signs of severe allergic reaction requiring immediate medical attention:
- Difficulty breathing
- Swelling of lips, tongue, or throat
- Widespread hives or rash
- Rapid heart rate
- Dizziness or fainting
- Nausea or vomiting
Note: If you have a known severe allergy, always carry an epinephrine auto-injector and know how to use it.
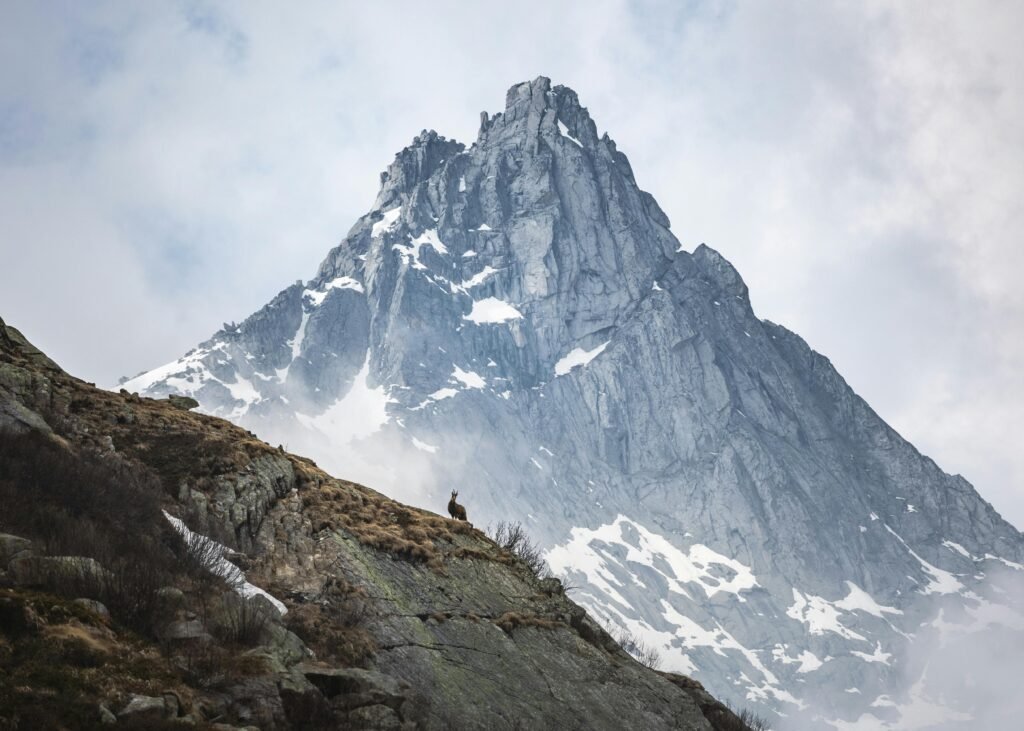
Altitude Sickness
Prevention:
- Ascend gradually (no more than 1,000 feet per day above 8,000 feet)
- Stay hydrated
- Avoid alcohol
- Consider acetazolamide (Diamox) if you have a history of altitude sickness
Symptoms of Acute Mountain Sickness (AMS):
- Headache
- Nausea or vomiting
- Fatigue
- Dizziness
- Difficulty sleeping
Treatment for mild AMS:
- Stop ascending and rest
- Take acetaminophen or ibuprofen for headache
- Stay hydrated
- Consider descending if symptoms don’t improve within 24 hours
Signs of severe altitude sickness requiring immediate descent:
- Difficulty breathing at rest
- Confusion or altered mental status
- Inability to walk in a straight line
- Persistent cough
- Gurgling sounds while breathing
The only definitive treatment for serious altitude sickness is immediate descent to lower elevation.
Snake Bites
Prevention:
- Stay on trails
- Watch where you step and place your hands
- Wear high-top boots and long pants in snake country
- Make noise while hiking to alert snakes of your presence
Treatment:
- Move away from the snake to prevent additional bites
- Keep the victim calm and still
- Remove jewelry or tight clothing near the bite
- Position the bite below heart level if possible
- Clean the wound gently with soap and water if available
- Apply a clean, dry dressing
- Mark the advancing edge of swelling with a pen
- Seek emergency medical help immediately
DO NOT:
- Apply a tourniquet
- Cut the wound
- Suck out the venom
- Apply ice or heat
- Give the victim alcohol or medications that might thin blood
When to Seek Emergency Help
Knowing when to evacuate or call for help is crucial. Look for these warning signs:
Serious Injury Warning Signs:
- Difficulty breathing or shortness of breath
- Chest pain or pressure
- Severe or persistent pain
- Uncontrolled bleeding
- Altered mental status (confusion, severe drowsiness)
- Seizures
- Severe vomiting or diarrhea
- Inability to hold down fluids for 24 hours
- Severe headache, especially with fever or stiff neck
- Signs of shock (pale skin, rapid breathing, weakened pulse)
- Suspected fracture of a long bone or spine
- Loss of consciousness
- Severe allergic reaction
- Significant facial swelling
- Severe burns
Evacuation Planning:
- Always have an evacuation plan before starting your hike
- Carry a charged cell phone or satellite communication device
- Know where the nearest help is located
- Understand how to share your location with rescuers
- Consider hiking with a personal locator beacon (PLB) or satellite messenger in remote areas
Contacting Emergency Services:
- Call local emergency services (911 in the US)
- If no cell service, send someone for help if possible
- Use international distress signals:
- Three short blasts on a whistle
- Three fires in a triangle
- Three flashes of light
- SOS signal with a mirror or light (three short, three long, three short)
Wilderness First Aid Tips
When you’re miles from civilization, improvisation becomes a valuable skill:
Improvised Bandages and Dressings:
- Clean t-shirts or bandanas can serve as bandages
- Sanitary napkins or tampons can be used for absorption of blood
- Safety pins or duct tape can secure improvised bandages
Makeshift Splints:
- Trekking poles, tent stakes, or sturdy sticks can be used to immobilize injured limbs
- Sleeping pads can be rolled to create a splint
- Bandanas, belts, or straps can secure splinting materials
Natural Remedies:
- Plantain leaves (common trailside weed) can be crushed and applied to insect bites to reduce itching
- Cool water immersion can help with pain and swelling
- Elevation using a backpack can help reduce swelling in an injured limb
Improvised Stretchers:
- A sleeping bag with two poles threaded through can create a stretcher
- A tarp with poles rolled on two sides can transport an injured hiker
Temperature Management:
- Extra clothing layers can insulate an injured person
- Sitting pads can provide insulation from the ground
- Body heat sharing in a sleeping bag can warm a hypothermic hiker
Remember:
Improvisation is not a substitute for proper medical care but can help manage a situation until professional help is available.
Preventing Injuries
The best treatment is prevention. Here are key strategies to avoid common hiking injuries:
Before Your Hike:
- Physical preparation: Strengthen ankles, knees, and core with targeted exercises
- Trip planning: Research the trail, terrain, and weather conditions
- Gear selection: Choose appropriate footwear, clothing, and equipment
- Knowledge preparation: Study maps, hazards, and emergency exit routes
During Your Hike:
- Pace yourself: Start slowly and maintain a sustainable pace
- Hydration and nutrition: Drink regularly and eat balanced snacks
- Rest strategically: Take short breaks before you feel exhausted
- Practice proper technique:
- Use trekking poles on challenging terrain
- Practice proper foot placement on descents
- Use switchbacks rather than taking steep shortcuts
Specific Prevention Strategies:
- For blisters: Break in boots before long hikes, use appropriate socks, address hot spots immediately
- For sprains: Strengthen ankles with balance exercises, use proper footwear with ankle support
- For cuts: Watch hand placement when scrambling, use gloves when appropriate
- For heat issues: Hike during cooler hours, wear appropriate clothing, stay hydrated
- For cold injuries: Layer clothing properly, stay dry, carry emergency shelter
- For altitude sickness: Acclimatize properly, ascend gradually, stay hydrated
Group Safety:
- Hike with a partner when possible
- Maintain visual or voice contact with group members
- Establish meeting points if separated
- Share the load of emergency equipment
Conclusion
First aid knowledge is an essential skill set for any hiker, whether you’re exploring local trails or venturing into remote wilderness. The ability to effectively respond to injuries and medical emergencies can mean the difference between a minor setback and a life-threatening situation.
Remember that this guide provides basic information, but cannot replace proper training. Consider taking a wilderness first aid course, particularly if you frequently hike in remote areas. Organizations like the Red Cross, NOLS (National Outdoor Leadership School), and local outdoor clubs regularly offer wilderness first aid certification courses.
Before every hike, check your first aid supplies, review your emergency protocols, and ensure you’re prepared for the specific challenges of your planned route. Share your itinerary with someone
Learn more essential tips for hikers here.